

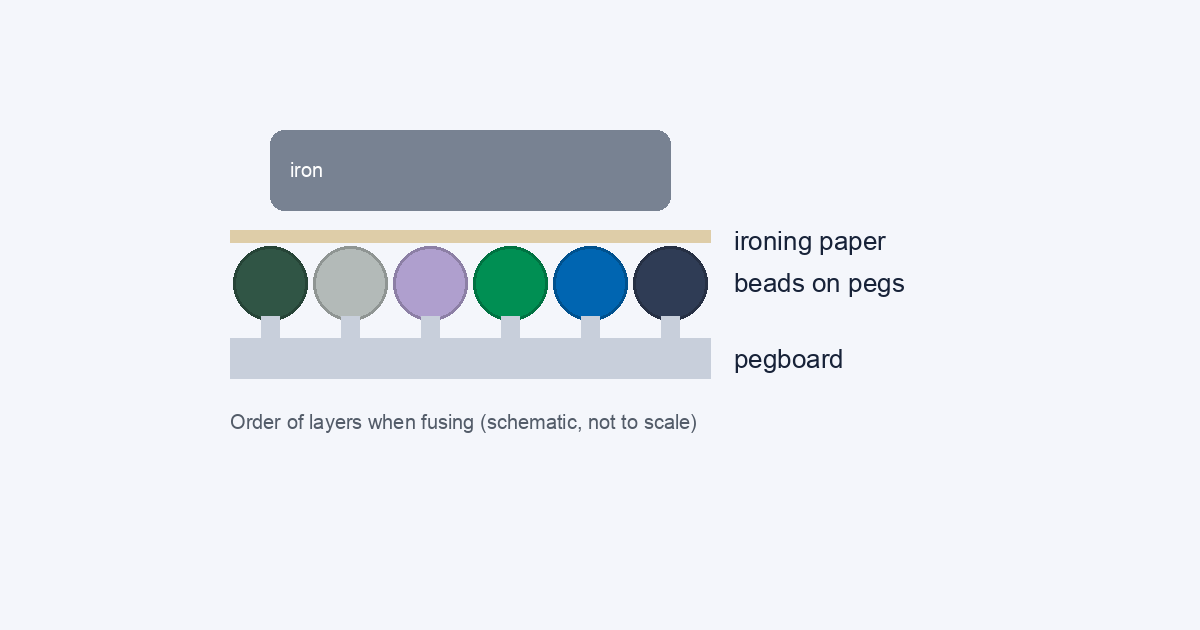
To iron Perler beads, lay ironing paper over the finished design, press with a medium, dry iron (steam off) in slow circles for a few seconds at a time, and check after each pass. Stop when the beads have joined at their sides but the holes are still visible. Let it cool a little, flip it, and fuse the back the same way, then flatten the piece while it is still warm. There is no universal temperature or number of seconds: it depends on your iron, the bead brand and the bead size, so test on a small piece first and follow the instructions that came with your beads.
Before you pick up the iron
Fusing cannot be undone, so the useful work happens before the heat. Check the beads against your chart one last time. If you made the pattern in the pattern maker, the printed reading chart is split into 29×29 board sections with symbols and bead counts, which makes it easy to compare section by section with the pegboard. Fix a wrong bead now: afterwards it is part of the piece.
- Ironing paper (many bead sets include a sheet) or baking parchment. It keeps beads off the iron and spreads the heat. Avoid wax paper.
- An iron you are fine getting a little dirty. The paper protects the plate, but a stray bead can still stick, so check the plate afterwards.
- A flat, heat-safe surface and a place to put the pegboard while it cools.
- Something flat and heavy, such as a thick book, for flattening the piece.
The beads you use matter too. Brands and sizes differ (see Perler, Hama and Artkal compared), and a smaller bead has less plastic to soften, so the same iron setting can behave differently on a mini bead than on a standard one. That is the reason to test a small piece rather than copy someone else’s timing.
Steps, in order
- Set the iron to medium, dry. Turn steam off and let the water tank be empty. Start lower than you think you need; you can always do another pass, but you cannot un-melt a bead.
- Cover the design with ironing paper. Place it down without sliding it across the beads, which can nudge them off the pegs. Hold the paper still with your free hand at the edge.
- Press in slow circles. Keep the iron moving over the whole design for a few seconds, then lift and look. Lift a corner of the paper to check; the beads should be joining but still clearly round.
- Repeat in short passes until neighboring beads are fused together and the holes are still visible. Check after every pass instead of running one long press.
- Let it cool a little, then peel the paper slowly. If a bead lifts with the paper, it was not cool enough or not fused enough; put the paper back and press again.
- Remove the piece from the pegboard, flip it, and fuse the back the same way with fresh paper. Fusing both sides gives a stronger piece, and the second side often needs less time than the first.
- Flatten it while it is still warm. Put the piece between flat surfaces under a heavy book until it has cooled completely. Plastic sets in the shape it cools in.
Under-fused, over-fused, warped
| What you see | Likely cause | What to try |
|---|---|---|
| Beads come apart when you pick the piece up | Under-fused: not enough heat or time | Put paper back on and do another short pass, then fuse the back |
| Holes look closed, beads look flat and glossy | Over-fused: too hot or pressed too long | It cannot be undone; use less heat or shorter passes next time |
| The piece curls or bows | Uneven heat, or cooled without being held flat | Warm it again under paper and press it flat under a heavy book until cool |
| Beads stick to the paper | Peeled while hot, or paper moved while pressing | Let it cool, peel slowly, and keep the paper still next time |
| Beads shifted before fusing | Paper slid across the design or the board was bumped | Fix them before ironing; hold the paper still and press straight down at first |
This table is general craft guidance, not a measurement from BeadDraft. Your own beads and iron decide the exact point between “joined” and “flattened”, which is why short passes with checks in between are the safe way to find it.
Safety
- A hot iron and melting plastic can burn. Children should do this with an adult, or have an adult do the ironing.
- Work in a ventilated room and do not leave the iron face-down or unattended.
- Let the iron rest on a heat-safe surface, and let pegboards cool before handling; some boards can warp when heated.
- Keep loose beads away from small children and pets.
After the iron
Once a piece is fused it is a solid sheet, so planning matters most for big designs. If you are still choosing a size, how to choose a pattern size shows the board-section math, and the fuse beads guide covers brands and sizes. For a first project, simple shapes from easy Perler bead patterns are a forgiving place to learn how your iron behaves. To turn a photo into a chart first, open the pattern maker.
What this page does not cover
BeadDraft makes the pattern and the printable chart; it does not do the ironing. I did not test irons, papers or bead brands for this article, and I give no temperature or timing because I have none to stand behind. The steps above are the commonly documented method for fusible beads. The instructions on your bead package and the label on your iron take priority over anything here.